Before you can start cutting picture frame patterns with your scroll saw, you need to know the basics of a scrollsaw. This article will help you cut patterns with your scrollsaw. This article will also show you how to create picture frames using scroll saw patterns. Before you start cutting with a scrollsaw, you will need one. Before you purchase one, ensure that it is the right size for your saw.
Basics of scroll saw
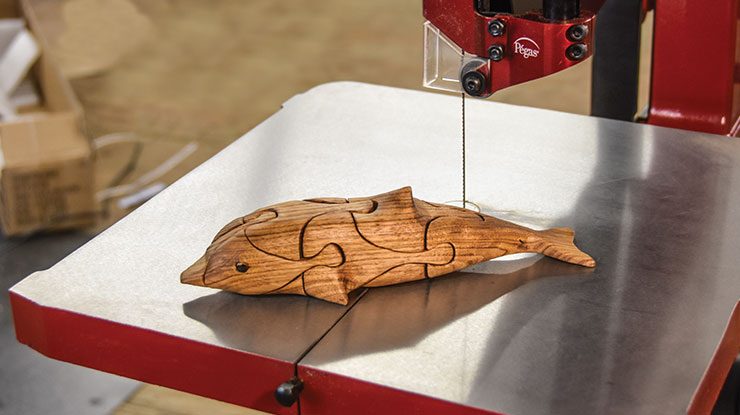
Scroll saws make beautiful picture frames and holders. There are two types to scroll saw projects: flat tabletop displays and wall hangings. Both types of scroll saw projects require multiple pieces of wood of different shapes and sizes. To make a 3D Scroll Saw Pattern, you need multiple layers.
Before you begin cutting, find the right scroll saw pattern for you. There are thousands online of free patterns. Many patterns can be used by beginners while others can be used for more advanced projects. Many of these patterns can be followed easily and you will find the right one. Finish your frame by applying wood varnish or lemon oil. This will help protect it from future damage.
Another simple scroll saw project, a self-contained Noah's Ark puzzle. This pattern is available in printable format, so it's an excellent way to test your skills. You can also print several patterns to make a puzzle. You can also make a VW Beetle puzzle if you aren't comfortable using a scroll saw. It's not just a decorative frame; it's also a great mental workout! If you are looking to save time and have a simple project, a tutorial or professional scroll saw design is the best option.
Basics of cutting patterns using a scroll saw
You may be interested in making wooden picture frames yourself. Learn how to use a scrollsaw to create picture frame patterns. Patrick Spielman's book is filled with new ideas that you can try. Unlike other books on the subject, this one contains more than thirty patterns, and each of them uses a different scrolling technique. You'll learn how to size and copy patterns, as well as how to transfer them.
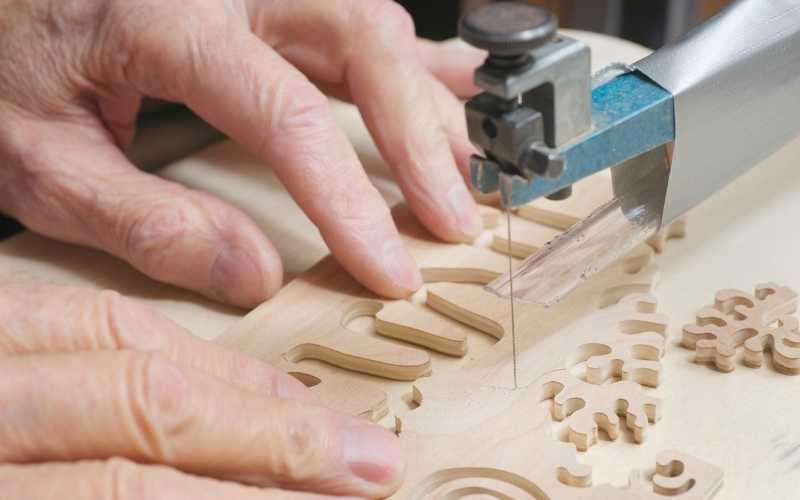
It's easy to create picture frame patterns if you have a scroll saw. This technique is used by many picture frame patterns. This allows for more precision as the pieces can be nested together after being cut. Double beveling involves tilting your table as you go. This kind of marquetry can also be called "artistic hardwoodworking" and is great for those just beginning the craft.
Scroll saws can be purchased online for as low as $40 Scroll saws can be found in basic models that are only a few decades old but still in great condition. An inexpensive way to learn to cut picture frames is to buy a scrollsaw online. There are many websites where you could purchase used scrollsaws. These websites are great for woodworkers who don't have the budget to buy new scroll saws.
How to make picture frames using a scrollsaw
A scroll saw is a difficult tool for creating picture frames. It requires a lot of knowledge. The book covers basic scrolling techniques and provides examples of different styles of picture frames. Picture frames are made up of two main boards. One has a frame opening, and the other has a smaller frame that is glued to the top. Despite the complexity of these steps, the book is an excellent guide for beginners.

This book offers many projects ideas for beginners in scroll saw. The book includes 32 different designs that can be created using the scroll saw. Each frame design has many variations. The book is not just a book of patterns. Each picture frame is unique. Below are some examples of techniques that you could use. Once you're familiar with these scrolling techniques, you can experiment to find the perfect one for your picture frames project.
FAQ
How can a novice woodworker make it big?
Many people are beginning to learn how build furniture to launch an online business. You don't have to sell on Etsy if your furniture is just beginning. You could sell at craft fairs or local events. Or you could offer workshops for others who want to learn how to build their own furniture. If you have the experience to be a carpenter, builder, or a designer, you may consider offering your services in remodeling homes or creating custom pieces.
What's the difference between a hobbyist and a professional woodworker?
Hobbyists like making things with wood. Professionals focus more on quality. Hobbyists often take pride in the creations they make and often share them to family and friends. Professionals will spend hours looking at designs before they start to build a project. They will pay attention to every detail, from selecting the best materials to finishing the project perfectly.
How much money does a hobbyist have to put into getting started?
A lot of capital is required to purchase the necessary supplies and tools if you want to start your own woodworking shop. A good place to start would be by buying a small table saw, drill press, circular saw, jigsaw, and sanding machine. These items aren’t too expensive so you won’t have to break the bank.
How much money do you need to get going?
Each project is unique so there aren’t exact numbers. But if you want to get an idea of how much money you'll need, consider these factors:
-
Material costs
-
Tools and equipment
-
The time spent on the project
-
Hourly rate
-
How much profit can you anticipate to make
-
Whether you plan to hire help
Start small, if possible. You can make simple boxes or picture frames if you're just getting started. You will gain more experience and be able to tackle larger projects.
How long does a piece take to finish?
It depends on which wood you choose, how complicated your design is and what amount of finishing you apply. Hardwoods, on the other hand, are more durable than softwoods. Hardwoods can also be more costly than softwoods. However, they are stronger and more resistant to moisture. Finishing furniture can take anywhere from one week up to three months.
Is it possible to open my own woodworking shop?
It is not easy to start a woodworking business. There are many laws and regulations you need to be aware of. However, it doesn't necessarily mean you must go through all the hassle of setting up a business. Many people opt to join existing businesses instead. This will allow you to avoid paying membership fees and taxes.
Are you a genius in order to master woodworking?
No. It is not rocket science to woodwork. Anyone can learn to use basic powertools and techniques to create beautiful work of art.
Statistics
- The U.S. Bureau of Labor Statistics (BLS) estimates that the number of jobs for woodworkers will decline by 4% between 2019 and 2029. (indeed.com)
- Most woodworkers agree that lumber moisture needs to be under 10% for building furniture. (woodandshop.com)
- The best-paid 10 percent make $76,000, while the lowest-paid 10 percent make $34,000. (zippia.com)
- Woodworkers on the lower end of that spectrum, the bottom 10% to be exact, make roughly $24,000 a year, while the top 10% makes $108,000. (zippia.com)
External Links
How To
Tips for driving a nail in wood
First, choose the right size and type of tool to drive a nail through wood. The most common types of hammers are claw hammers, sledgehammers, mallets, ball peen hammers, and hatchets. Each type of hammer comes with its advantages and disadvantages. A claw hammer works well when you're trying to hit nails with a heavy hammer. However it is difficult to precisely control where the blow hits. A sledgehammer is great for hitting large areas at once, but it's too heavy to use effectively for smaller tasks.
After selecting the right hammer, you will need to place your hand flat against one side of the head. The handle should rest comfortably in your hands. Hold the handle in your hand, but don’t force it too hard that you break. Your wrist should be relaxed while you hold the hammer straight upwards. Next, swing the hammer toward the ground and aim for the nail's center. You should feel the impact of the hammer striking the nail. You can practice swinging the hammer with a block or wood until you feel the rhythm.
You can now drive the nail by holding the hammer to your body. Position the nail, so it's perpendicular to the surface of the wood. Your eyes should be focused on the nail's tip. Then, swing the hammer forward. Next, follow the motion of your hammerhead. Repeat this action several times, gradually increasing the speed of the swing. Try adding power to your swings when you've mastered the technique. Hold the hammer high above your shoulders and pull it down. You will be able to use more energy and put your best foot forward.
Once you have made the first hole, remove your hammer. To remove the remainder of the nails, you can use a screwdriver/pry bar. Keep the nail heads parallel to the board's surfaces in order to avoid splitting wood.