For beginners who want to learn how to whittle, it's possible to start with the basics. Make sure to have some tools and a knife. This article will teach you about wood types, tools, and techniques. Once you've got the basics down, you can start your own whittling project! There are many types of whittler projects to choose from.
Wood
Although there are many wood types, this list will help you pick the right wood for your whittling needs. This list of woods will help beginners get started in whittling. There are many ways to whittle the wood to get different shapes. Below are a few basic techniques to whittling wood.
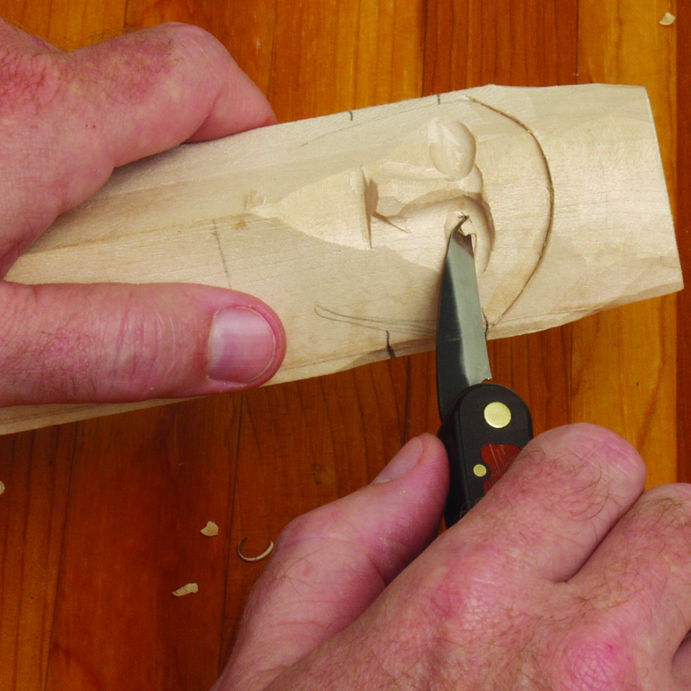
The pull stroke: You need to align the blade with the grain of the wood when carving wood. This will prevent the wood from being ripped. To tell the direction of the grain of wood, look for dark streaks running through the wood. The direction of these streaks will be the direction of the blade when whittling wood. The pull stroke of the blade is less effective than the push stroke.
Knife
You can learn the basics of woodworking by whittling with your knife. Although you may not be an expert at this task, you will have greater control over your knife and can make more precise cuts. You can practice the pull stroke with small pieces of soap by using a knife to cut them. Practice makes perfect. Beginning projects are simpler to manage and become more difficult as you move on.
You will need a knife before you start whittling. Because it can be used to make shavings, a pocket knife is the best choice. Avoid knives with wide, long blades, as these can cause choking and shouldn't be used for this task. You should choose a narrower blade to make it easier and faster to sharpen. A frame saw can be used if needed.
Techniques
You can improve your whittling skills by learning these techniques. The most common cut is the pull stroke, which involves bracing your right thumb on the wood and pinching your right fingers. You then draw the blade towards your right thumb and keep the knife straight. This stroke is very precise and controlled. It gives you much more control over your knife. This technique is best for detailed cuts.
There are two types in general of whittling books. First is the Old Time Whittling book, which is a good reference book if you are a complete beginner. The Little Book of Whittling has many whitling ideas. Many whittling ideas can be found in The Whittling Handbook. The Art of Whittling includes some more advanced projects. This book contains patterns such as ball and cage, as well as simple puzzles.
Tools
Good wood is essential for making whittling tool. It's possible to use found wood but it is more efficient to get greenwood. Greenwood is easier than drying wood to carve. Also, deadfall branches are also available at any season. Small trees can also be collected at any season, but the best time to collect them is in the winter. Ask permission before you start collecting wood if your work is on private property.
If you're just starting out, there are some great sets available. One set that is great for beginners is the Delicacy carving set. It includes 12 tools and a blank wood spoon. The set comes with protective gloves as well as a case. A set of whittling instruments is worth the investment, as you will be using them for many years. This set is an inexpensive way to get started.
Starter projects
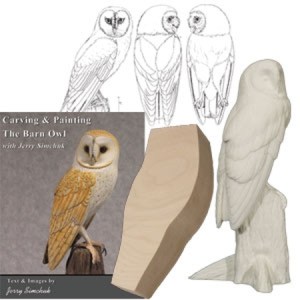
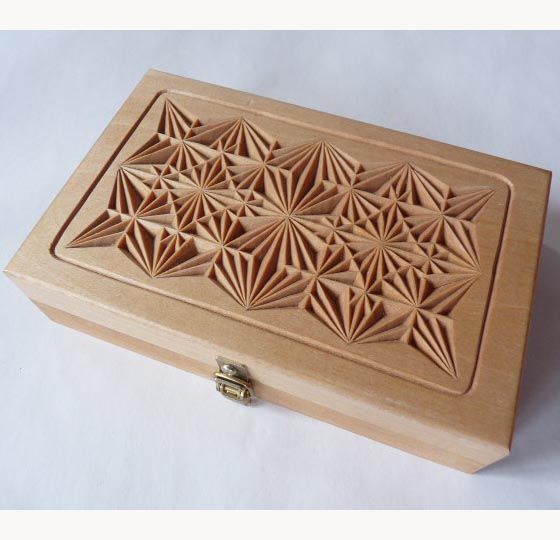
You might start out with a simple project like a walking stick if you're new to wood whitling. You can work your way up to more complex projects, like carving faces on walking sticks. Beginner whittlers may find comfort in a bird like the Comfort Birdie. A swan is another beginner-friendly whittling project. These are wonderful gifts for children and are very easy to make.
Another project that is considered a beginner project is a carved ball in a cage. You can create intricate designs and use feathers to match your theme. Tiki-icons and woodland spirits are also possible. There are many options, but it is always a good idea have a template to help you get started. This will allow you to determine which tools and pieces are needed.
FAQ
What's the time taken to finish a piece furniture?
It depends on what size piece of furniture you have. For smaller projects such as picture frames and boxes, it can take less than a day to complete. Larger projects like dining tables and desks require several days. It takes time in order to properly stain or seal the wood.
What types of woods are best for furniture making?
Woods are classified based on their hardness. Softwoods include cedar, pine, cedar, and Cypress. Because they resist rot, softwoods can be used to make outdoor furniture. You can find hardwoods like oak, maple, mahogany, teak, and others. Because they can't weather outside, they're usually used indoors.
Do you have the skills to learn woodworking?
Doing is the best way to learn any subject. Woodworking is an art form that requires patience, practice, skill, and experience. To master any craft, it takes time.
It is the best way to learn to do something is to actually do it. Start small, and work your way up from there.
How can I keep my shop organised?
First, make sure you have a designated space for tools storage. To keep your tools sharp and ready for work, keep them clean of dust and debris. To hang accessories and tools, use pegboard hooks.
What is the difference in a hobbyist and professional woodworker?
Hobbyists are passionate about making things from wood, while professionals tend to be more focused on the quality and craftsmanship of their work. Hobbyists are proud of their creations and will often share them with family members and friends. Professionals spend hours researching design ideas before starting to work on a project. They will pay attention to every detail, from selecting the best materials to finishing the project perfectly.
What wood items do well?
The most successful wooden items are made from sustainable wood.
The most used wood types for furniture are oak, maple and walnut.
These woods are strong and durable, with beautiful grain patterns. If they are well cared for, they can last many years.
Wooden furniture should always be painted first to protect against moisture damage. All surfaces should be painted, including doors, drawers, and handles.
A paint that resists water is the best choice to ensure that furniture lasts a long time.
You should use a high-quality oil-based primer followed by two coats of top coat. It is possible to apply multiple coats depending on how heavy the wear.
Avoid spray cans and aerosol paints. These products contain solvents which evaporate quickly and leave behind harmful fumes.
How often should I purchase new supplies?
Over time, you may need to replace your tools. You'll need to sharpen your hand tools regularly if you use them. And if you're using power tools, you'll need replacement parts periodically. Avoid buying too many products at once. Spread your purchases out over several months.
Statistics
- Average lumber prices rose about 600 percent between April 2020 and May 2021. (familyhandyman.com)
- The best-paid 10 percent make $76,000, while the lowest-paid 10 percent make $34,000. (zippia.com)
- Overall employment of woodworkers is projected to grow 8 percent from 2020 to 2030, about as fast as the average for all occupations. (bls.gov)
- In 2014, there were just over 237,000 jobs for all woodworkers, with other wood product manufacturing employing 23 percent; wood kitchen cabinets and countertop manufacturing employing 21 percent. (theartcareerproject.com)
External Links
How To
How do you measure wood accurately?
Wood measurement can be done using several methods. We use a digital scale (a tool for measuring distances), a laser-level (used to level your work surface), as well as a bubble level (used in order to level your work surface).
Two jaws can be opened and closed on a digital caliper. One jaw holds the object being measured and the other measures the distance between them. The digital scale is perfect for measuring tiny distances such as wood thickness.
Laser levels emit an infrared laser beam that projects a straight line across the floor. The laser emits a red dot on the line. If you look down on the line, it will show whether the surface appears even or not. Laser levels are ideal for checking the accuracy on large surfaces.
Bubble levels look similar to a compass. There is a bubble at the center of this device. The device will indicate whether the surface is level as long as it is centered. The bubble levels can be used to check the accuracy of smaller areas.