
You may wonder why polyurethane is so popular for outdoor projects, and that's an excellent question. In this article, you'll learn about different types, including Wipe-on polyurethane, Oil-based polyurethane, and naphtha-based polyurethane. To avoid streaks and drips, you will also learn how to apply the finish by using a brush. Be aware, however, that applying polyurethane has its disadvantages. Homeowners should consider these before deciding on the type of finish they want.
Polyurethane oil-based
Make sure you clean the surface completely with mineral oil, alcohol, and a spray of polyurethane before applying it. Wiping the surface cleans up any air bubbles. For a water-based polyurethane, you will need to apply three to four coats. A thin coat of polyurethane can be applied to minimize bubbles. Before applying a finish, wipe it again with a lint-free cloth or mineral spirit.

Wipe-on polyurethane
A wipe-on finish polyurethane can be used in place of oil-based branded finishes. This type is water resistant and scratch-resistant. Wiping polyurethane without the need for high-end spray booths is an economical option. It can also be applied without the use a brush. You can thin the wipe-on adhesive with mineral spirits before you apply it to your project. Oil-based Poly can be mixed 1:1 in mineral spirits. Wipe-on Poly can also be purchased premixed.
Thinning polyurethane and naphtha
Protective gear is recommended before you begin the process of dipping your brush or rag in a bucket of polyurethane. Mineral spirits can cause skin irritation when exposed to high concentrations. You should dispose of any thinners that are used to thin polyurethane. When handling thinners, gloves are recommended. Adding more of the substance will not accelerate the drying process.
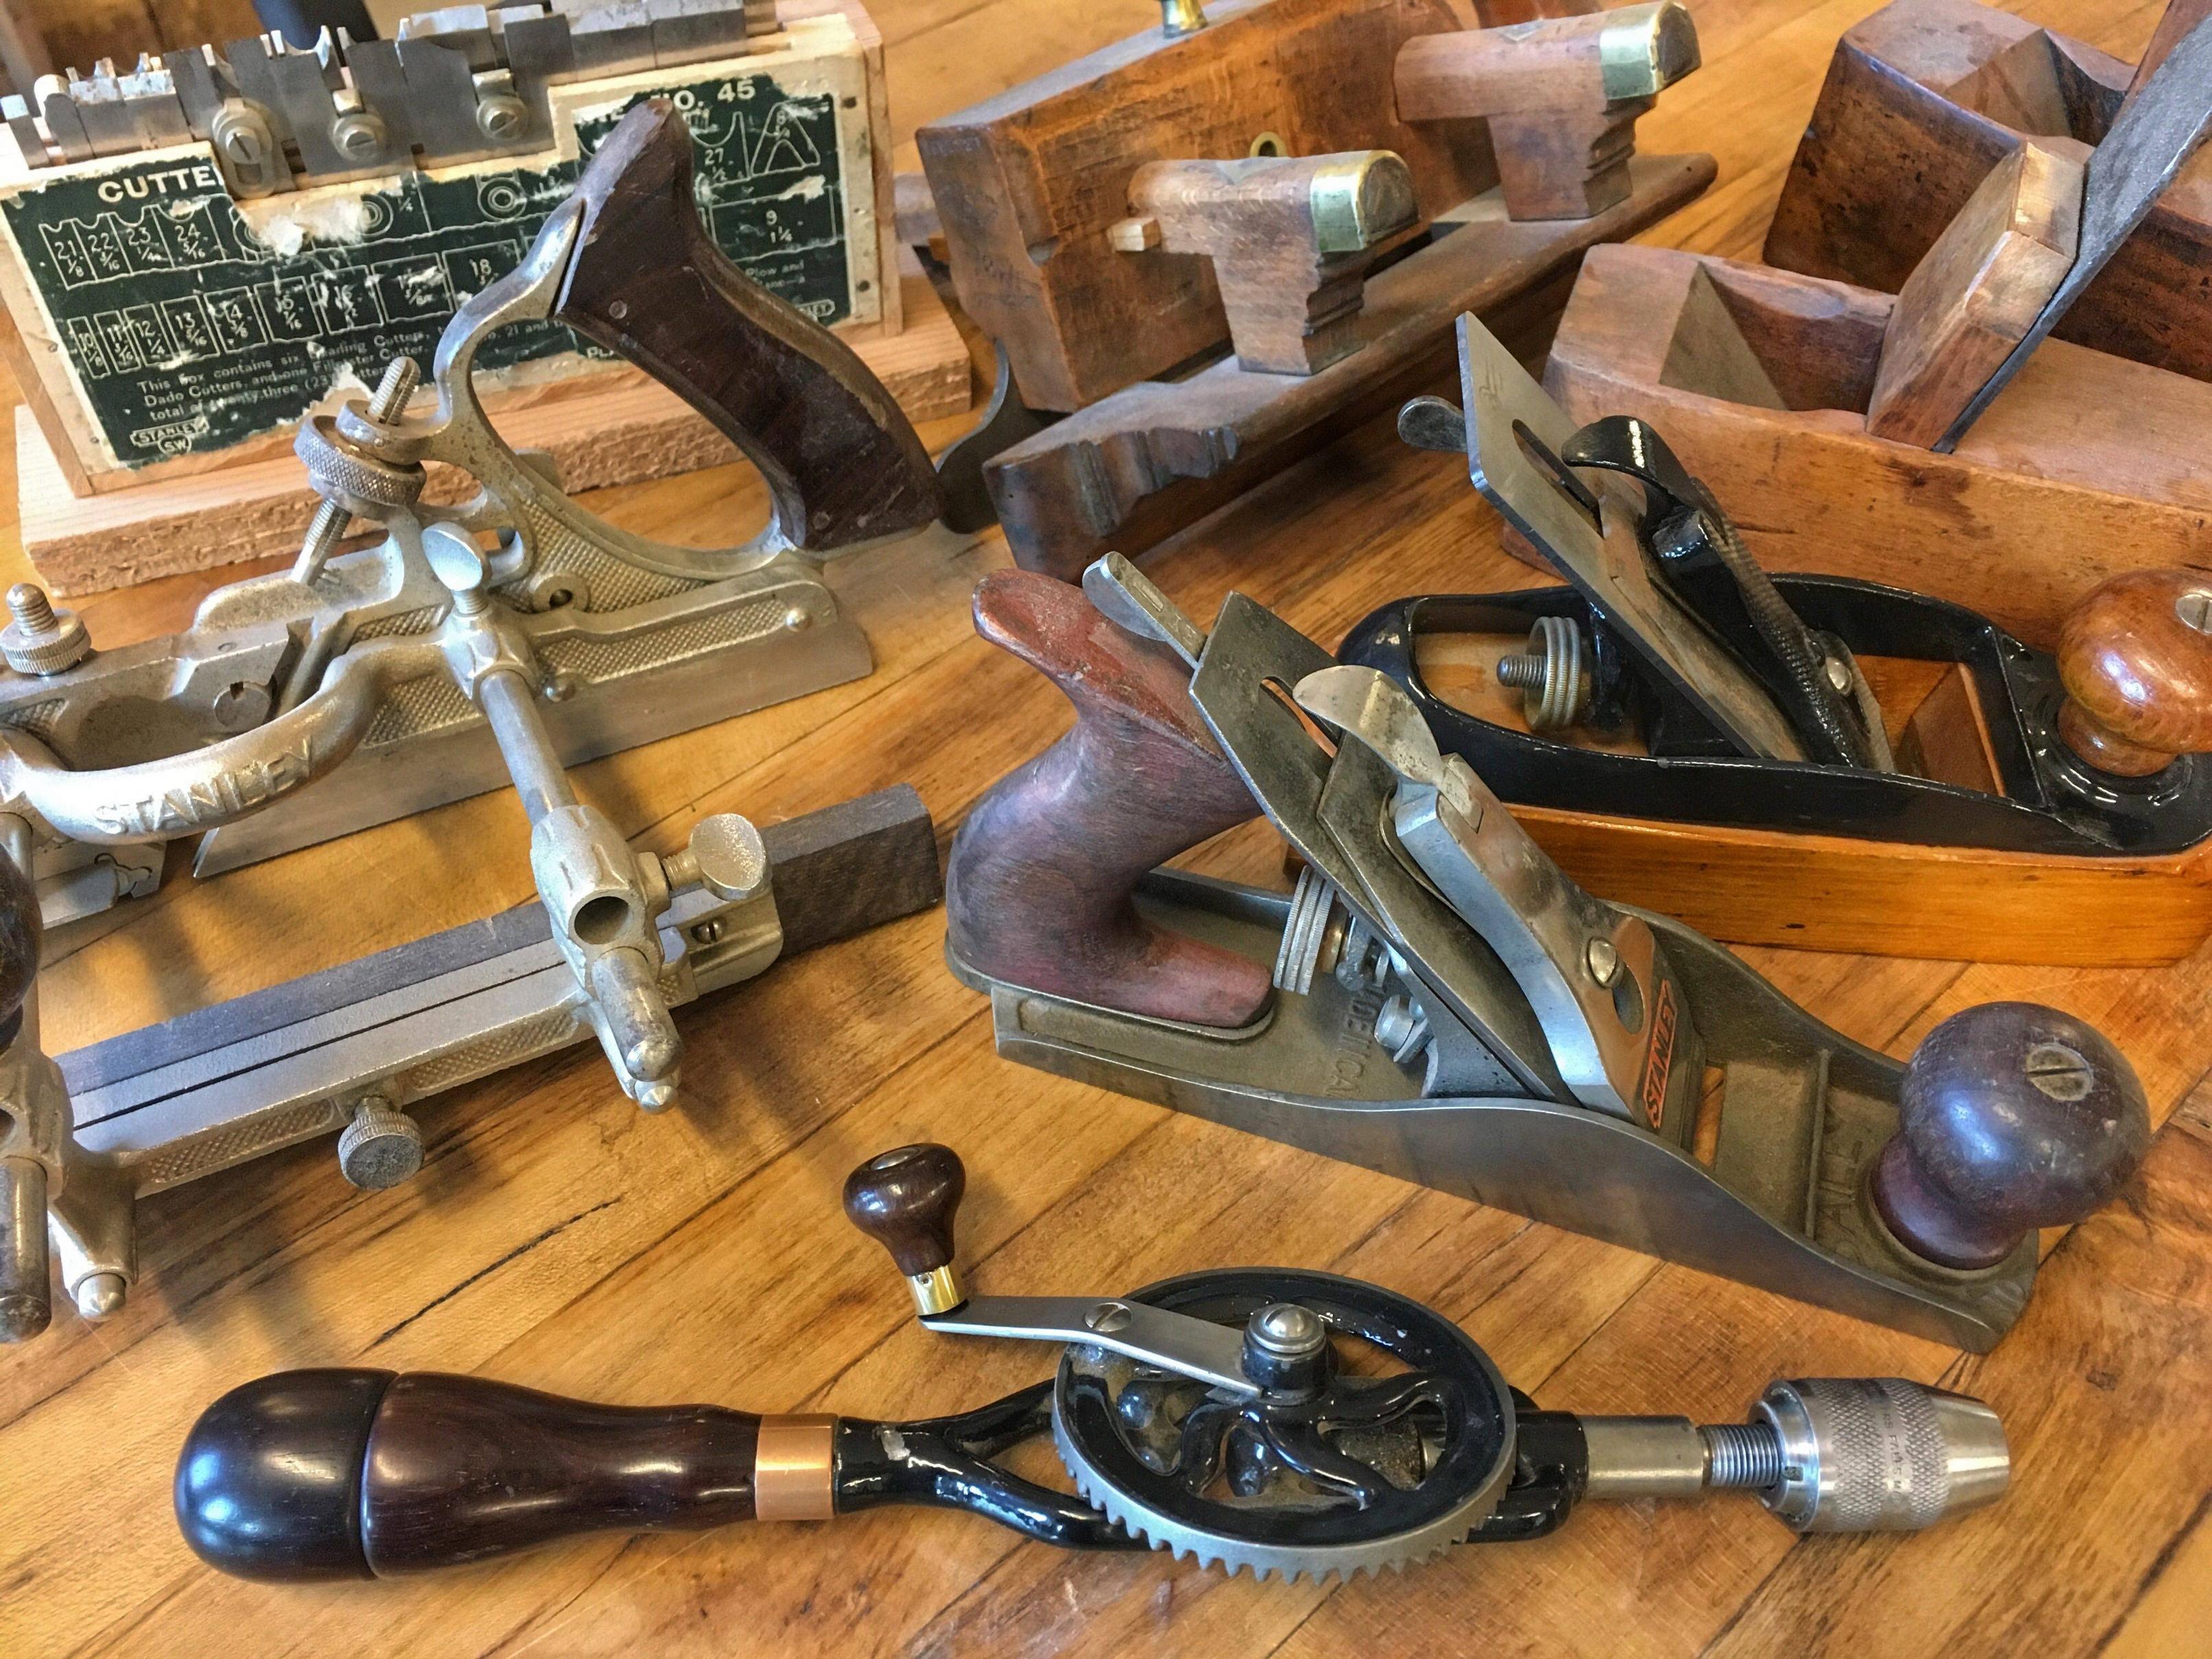
Applying it with a brush
Two basic methods of applying polyurethane are recommended: brushing on and wiping off. While brush on provides the best protection, with minimal buildup or drips, it is easier to wipe on without using brushes. Brush on finishes are easy to apply and dry in between four and six hours. Wipe on finishes require more coats, but are a better choice for stair balusters and other small, flat areas.
Drying time
Drying time for finishing polyurethane can be affected by several factors. You want to achieve the best results so apply the coating during warm days. Apply the coating again after sanding off any traces of this. You should avoid coating the surface in extremely high temperatures. This could cause it to crack. You should use oil-based polyurethane.
FAQ
Do you have any tips on starting a woodworking business?
It is hard work to start a woodworking company. It's worth it if you're passionate and willing to work hard. You'll likely enjoy the challenge of owning your business.
Remember that you may encounter unexpected problems when starting a new venture. You may run out of money suddenly. Perhaps customers won't pay you as much as you had hoped. These situations are necessary for survival.
Set up a separate account in your bank for your business. You'll know exactly how much money is coming in by setting up a separate bank account.
Do you have any other information I should know about woodworking and/or the process of making it?
It is easy for people to overlook the work involved in furniture making. Finding the right type of wood is the most difficult aspect of this process. It is difficult to choose between the various types of wood.
The problem with wood is that not all wood properties are the same. Wooden can split or crack, while some woods may warp. These things should be considered before you buy wood.
Where can I buy hardwood lumber?
Home Depot can sell hardwood lumber. You will find a range of wood products available at Home Depot.
A wide range of engineered hardwoods are also available, such as Ipe and Brazilian Cherry (Pau d'Arco), Mahogany and Swietenia Macrophylla.
You can find these woods for sale online by searching "hardwood lumber" on Google.
What's the difference?
Hobbyists love making things from wood while professionals are more concerned with the quality of their work. Hobbyists tend to take pride and share their creations with family and friends. Professionals will spend hours researching designs and then begin to create a project. They will meticulously plan every detail of their work from choosing the right materials to finishing it.
Statistics
- Most woodworkers agree that lumber moisture needs to be under 10% for building furniture. (woodandshop.com)
- Woodworkers on the lower end of that spectrum, the bottom 10% to be exact, make roughly $24,000 a year, while the top 10% makes $108,000. (zippia.com)
- The U.S. Bureau of Labor Statistics (BLS) estimates that the number of jobs for woodworkers will decline by 4% between 2019 and 2029. (indeed.com)
- If your lumber isn't as dry as you would like when you purchase it (over 22% in Glen Huey's opinion…probably over 10-15% in my opinion), then it's a good idea to let it acclimate to your workshop for a couple of weeks. (woodandshop.com)
External Links
How To
How to join wood with no nails
Woodworking is a popular hobby. Woodworking can be a fun hobby because you can work with your hands to make useful objects from wood. You may need to join two pieces without the use of nails. This article will help you to maintain the beauty of your woodwork projects.
The first thing you'll need to do is cut off any rough edges from your pieces of wood before joining them together. Sharp corners can cause problems down the line. After you have completed this step, you are ready to glue your boards together.
When working with hardwood, glue should be applied only to one side. If you are using softwoods such pine or cedar, glue should only be applied to one side. Once you have applied the glue, press down on the boards until they are fully attached. Make sure you let the glue dry before moving on to the next step.
After you've glued your boards, you'll want to drill holes into the joints where you plan to insert screws. You can choose the type of screw to determine the size of your holes. For example, if you're going to use a 1/2-inch wood screw, then you should drill a hole that is at least 3/4 inches deep.
Once you've drilled your holes, you'll want to drive the screws through the joint and into the backside of the board. You should be careful not to touch the board's front surface. This could cause damage. Be careful not to drive the screws too hard at the ends. This will avoid splitting in the wood's ends grain.
Protect your finished project now. To do this, you can seal the entire furniture piece or just cover the top. You want it to last years, so you can use any product. Examples include oil-based varnishes and polyurethanes, shellac, lacquer and others.
These products are available at most home improvement stores. Be sure to choose the right one for your project. Also, remember that some finishes are toxic and should never be used indoors. When handling certain finishes, wear protective gear.