Perhaps you're just starting out with woodturning and wondering how to add texture. Ernie Conover shows you how to add texture to your woodturning projects. Textures are natural patterns that adorn objects in different ways. Textures can be added to your turn projects to add style and personality. There are many texture options available for your project.
Making a rolling Pin
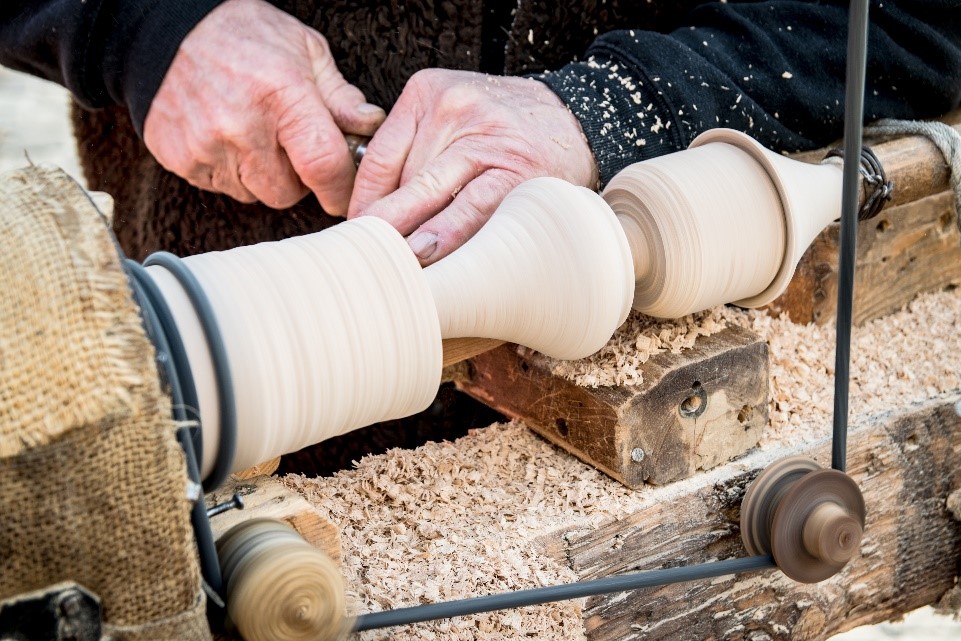
Perhaps you have been interested in woodturning and wondered how to make your own rolling pin. Wood rolling nails are typically long and made out of straight, unblemished wood. You can use any wood depending on the length of your pin. However, the best woods to roll pins are hard maple or cherry, applewood, ash, and similar hard woods. Some cheaper versions are made of soft maple and birch, but it's important to pick out the right wood for the task.
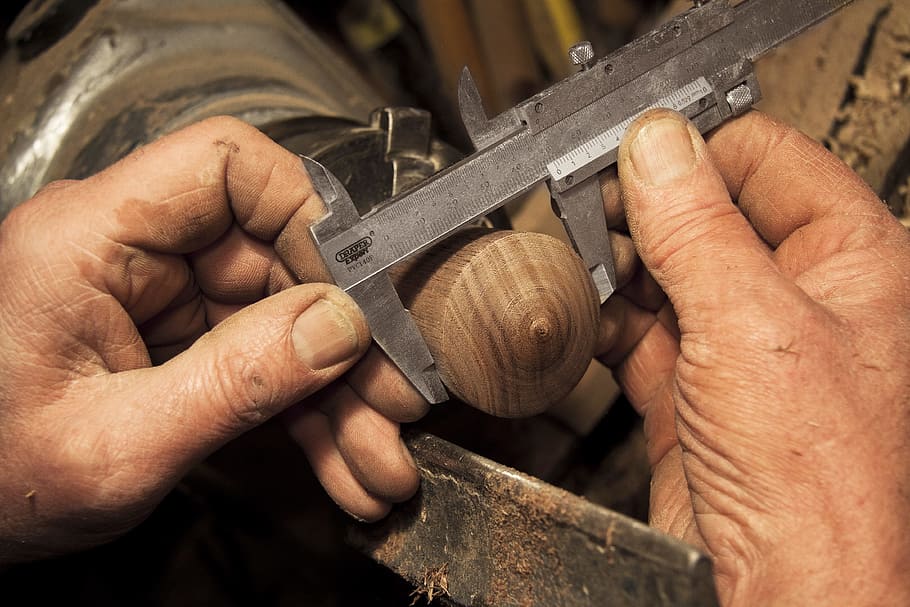
To begin, measure the diameter of the handle and the diameter of the rolling pin. Measure the diameter using the Parting tool. Then use the Roughing Gouge and reduce the handle to its diameter. After measuring the diameter of the pin, use the Bowl Gouge in order to make its curves. This will allow the pin to be threaded. Once your rolling pin's ready, use a food safe finish to it and let it dry 15 minutes.
Make a salt-and pepper shaker
These handy utensils can be made in many ways. You can make a stunning salt-and pepper shaker by using a mason jar. Using a small nail and hammer, lightly punch holes along the letters. A cork can be placed through the holes, leaving 5/8-inch wood at the end. Add salt and pepper to the shaker and you can enjoy your creation.
You might have a collection of Coca-Cola bottles lying around your home that aren't being used, and you can use these bottles to make a salt-and-pepper shakeer. You can use tape to make the lines of the bottle clean, or you can paint it with metallic gold leaf paint to add a simple detail. You can use any color of all-surface spray paint.
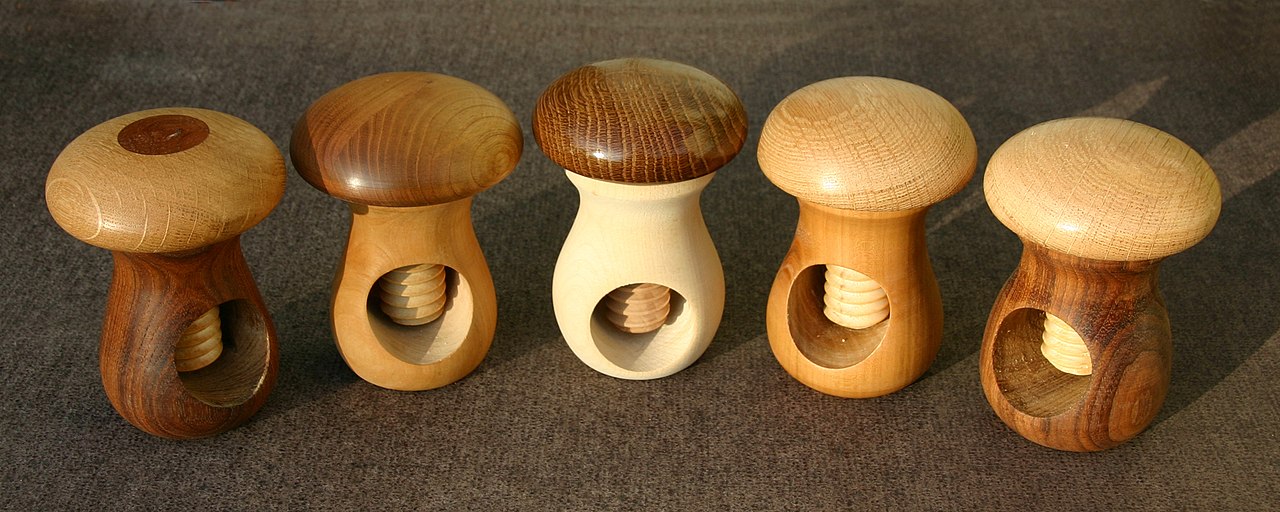
Make a bottle-stopper
Making a bottle capper is easy with these steps. The first is to mount the blank between 2 centers. This creates a collet that can be mounted in the chuck. Then, you will turn a piece to produce the desired shape. To attach the turned decorative part to the bottle, turn a threaded pin. Different sizes of threaded boards can be used.
It is essential to select the right wood type for your project before you begin. You can find blanks in a craft center. Most blanks will already be squared. But if you're cutting your wood by hand, make certain that the pieces are even and straight. You may need to square up wood purchased from a retailer. You can also use a tablesaw or chop saw instead. A clamp can be used to square up unusual-shaped pieces. Finally, smoothen the finish by using a fine-grit stone sandpaper.
Make a stacked ring box
When you make a stacked ring bowl for woodworking, you can create a large bowl by cutting two or more flat boards into concentric rings. The rings should be glued together with a dovetail joint. The boards should be approximately 5 in. wide by 1 in. thick. The faces of each board are joined and the joining edge is planed.
You can cut a segmented ring bowl using a jig or trammel. The thickness of the board will determine the spacing of the segments and the number of layers necessary to achieve the desired height. The board should be one inch thick and preferably not any thinner than 5/8'' or 3/4''. You can also use either a trammel and/or a circle-drawing machine to mark the line of the band saw.
FAQ
How long does it take to finish a piece of furniture?
It depends on the type and complexity of your design as well as the amount of finishing that you use. Hardwoods require more care than softwoods. Hardwoods can also be more costly than softwoods. They last longer and are more resistant to moisture. The process of finishing a piece of furniture typically takes anywhere from one week to three months.
How do I determine what kind of wood my project is made from?
Always verify the label on wood purchases. The label should detail the wood species, its moisture content and whether it has been treated or not.
Can you teach yourself woodworking?
Learning by doing is the best way of learning anything. Woodworking is an art form that requires patience, practice, skill, and experience. Mastering any craft takes time.
It is the best way to learn to do something is to actually do it. Start small and use what you learn.
Are there any tips for starting a woodworking enterprise?
It takes a lot of effort to start a woodworking business. But if you're passionate about your hobby, you won't mind putting in the effort. You might even enjoy running your own business.
You should remember that unexpected issues may occur when you launch a new venture. You might run out money, or you may have to borrow unexpectedly. Or maybe you'll find that customers aren't willing to pay as much as you'd hoped. Preparedness is key to survival in such situations.
Set up a separate account in your bank for your business. You'll know exactly how much money is coming in by setting up a separate bank account.
What kind of tools are used to carpenters?
A hammer is probably the most widely used tool for carpenters. A hammer helps to carpenter pound nails into the wood. A hammer is used to hold pieces together during a project. Other tools include clamps and pliers, screwdrivers as well as measuring tape, pencils and saws.
Statistics
- Overall employment of woodworkers is projected to grow 8 percent from 2020 to 2030, about as fast as the average for all occupations. (bls.gov)
- If your lumber isn't as dry as you would like when you purchase it (over 22% in Glen Huey's opinion…probably over 10-15% in my opinion), then it's a good idea to let it acclimate to your workshop for a couple of weeks. (woodandshop.com)
- Woodworkers on the lower end of that spectrum, the bottom 10% to be exact, make roughly $24,000 a year, while the top 10% makes $108,000. (zippia.com)
- Most woodworkers agree that lumber moisture needs to be under 10% for building furniture. (woodandshop.com)
External Links
How To
Tips on how to drive a nail in wood
It is essential to pick the right size and style of hammer before you can drive a nail in wood. There are many types of hammers that you will find: claw hammers and sledgehammers; mallets; ball peen hammers; and hatchets. Each type of tool has its advantages and drawbacks. A clawhammer works best when hitting something hard like nails. However, it can sometimes be difficult to see exactly where the strike is going. A sledgehammer is useful for striking large areas at once but too heavy to be effective for smaller tasks.
After selecting the right hammer, you will need to place your hand flat against one side of the head. The handle should rest comfortably in your hands. Hold the handle in your hand, but don’t force it too hard that you break. Your wrist should be relaxed while you hold the hammer straight upwards. You should then swing the hammer straight up, keeping your wrist relaxed. The impact of the hammer hitting the nail should be felt. Try practicing with a block to help you master the art of swinging a stick.
Once you are ready to drive the nail, place the hammer close to your body. Position the nail, so it's perpendicular to the surface of the wood. Keep your attention on the tip. Swing the hammer forward, and then move the hammerhead. Continue this motion several times, slowly increasing the speed of each swing. Try adding power to your swings when you've mastered the technique. Try holding the hammer above your shoulder and bring it down forcefully. This will allow you to exert more energy.
Once you've nailed the first hole, remove the hammer from the nail. To remove the remainder of the nails, you can use a screwdriver/pry bar. You should ensure that the nails are flush with the board's surface to avoid splitting the wood.