You can learn many tips to help you get started with wood turning. The following tips will ensure that you stay safe while turning. To avoid common injuries when wood turning, you should follow these guidelines. After all, you don't want to end up in the emergency room with a broken arm or other serious injury. You should also wear appropriate attire when you turn. Safety tips on wood turning can be found online.
Safety
As with any other hobby, safety when wood turning is an important part of any project. Woodturning can be done safely, but there are some risks involved. To minimize these risks, use safety equipment and common sense. Avoid jewelry and loose clothing while using rotating equipment. This article provides information about some of the most important safety policies for woodturners. Let's take a closer look.
Another important factor to consider is the proper positioning of your workpiece on the lathe. Place your workpiece no more than 15 inches from any toolrest before turning the lathe. You also need to keep in mind that the wood dust can make you slip if the toolrest is too close to the workpiece. The loosening of the center may also indicate a problem.
Tools
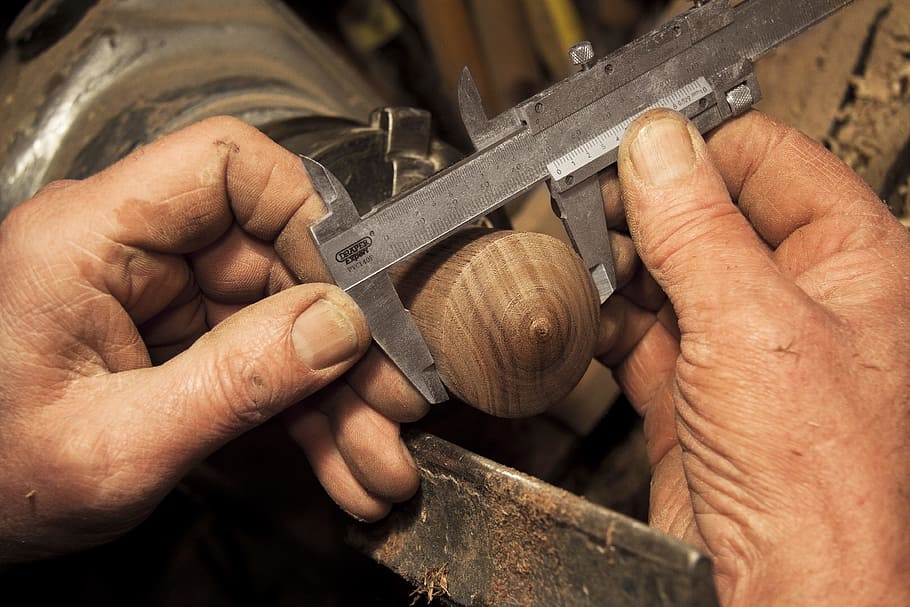
A wood turning lathe turns wooden objects. Two banjos are used. Each banjo is important for the successful operation of the lathe. This article will describe each type of banjo, and show you how to use them to turn wood. Let's take a look at how the tools are used for wood turning. The article also discusses safety equipment for woodturners. Using safety equipment is essential to keep yourself safe while you're working.
Steel-toed boots will protect your feet. Wear eye and/or ear protection when handling large objects. No matter what type of woodturning tool, protect your eyes from harmful fumes. For any activity in the shop, it is a good idea for a pair leather steel-toe boot. When turning a blank, woodturning tools can also be useful.
Projects
It is possible that you are wondering what types of wood-turning projects you can do. First, you must understand the materials you have to work with. According to The Spruce, there are many types of hardwoods. You can also purchase wood from local tree surgeons. Here are some ideas for beginners to help you get started. This project requires you to make a bowl out of unseasoned wood from local sources. It will take some time, but the result will be worth it!
Woodturning requires patience, practice and skill regardless of your ability. Woodturning projects are easy to modify, even though they don't require much skill or experience. This hobby is also a great way to relieve stress and improve mental clarity. There are many online resources to assist you in getting started. You can find step-by-step tutorials to get you started.
Attire
The type of wood turning project you are working with will dictate the appropriate attire. Full-face, visors provide greater protection against flying objects. Safety goggles will work for most tasks. Wear safety goggles that have steel toes if you're going to be using a grinder. Eye and ear protection is also recommended. It is recommended that you wear leather, steel-toe booties.
In general, however, the proper attire for wood turning should include a turned baseball cap, a comfortable cotton shirt, and high-top shoes. If you are going to be working on a piece of wood for long periods, you should avoid wearing loose clothing around the spinning object. Make sure to remove any jewelry, and tie back your hair to avoid catching on it. To remove wood shavings that may get all over your clothing or end up on your clothes, you should have paper towels nearby.
Dust masks
There are many different kinds of dust masks that can be used for wood turning. These masks often have cartridges or filters that help reduce the moisture and heat of the dust. These masks can also be purchased in pads that you place over your nose and mouth. Some masks are made with elastic or rubber straps and fit over the nose and mouth. They help protect you from dust and fumes. You should consider purchasing a powered mask if you are unable wear one.
Masks with high filtration are also worn by other types of woodturners. The 3M 8210 particulate respiratoryator is one of them. It filters out 95% particulate matter and comes in a set of 20. While dust masks for wood turning can cost a few dollars, these will protect your lungs and prevent respiratory issues. You can buy a 20-piece box of the 3M 8210.
Respirator
You can protect your lungs and face from harmful particles by wearing a respirator while working on your lathe. A powered face shield respirator for woodworking is an excellent choice. Powered masks are perfect for noisy, dusty jobs. Woodturning creates considerable dust and shavings, which can fly directly at you. Safety glasses are not enough to protect your eyes and face from flying debris. This debris could cause extensive injury if the chuck drops a bowl.
FAQ
Is it easy to start a woodworking business?
It's not easy to start your own woodworking business. There are many regulations and legal requirements that you will need to comply with. However, it doesn't necessarily mean you must go through all the hassle of setting up a business. Many people join already-established businesses. This allows you to join existing businesses and pay only membership fees.
How can my shop be organized?
First, make sure you have a designated space for tools storage. Your tools will stay sharp and ready to go when they are free from dust and debris. Use pegboard hooks to hang tools and accessories.
What is the minimum investment a hobbyist needs to make in order to get started?
If you're looking to start your own woodworking business, you'll probably need some capital to buy the necessary tools and supplies. Start by getting a small circular saw saw, drill press or circular saw. These items are affordable so you won’t break the bank.
What should a woodworker be paid per hour?
Hourly rates for professional woodworkers vary depending on many factors such as skill, experience, availability, geographical location, and other variables.
The average hourly rate for a skilled woodworker ranges from $20-$50 an hour.
A less skilled woodworker can charge as low at $10 an hour.
Where can you find free woodworking blueprints?
For free woodworking blueprints, you don’t need to read any magazines or buy any books. You only need to Google search. You can search Google for "free woodworking" and hundreds of websites will appear allowing you to download plans.
How long does it usually take to complete a piece furniture?
It depends on the wood type you choose, the complexity and the amount you apply to the finished product. For example, hardwoods require more maintenance than softwoods. Hardwoods tend to be more expensive that softwoods. But they last longer, and resist moisture better. It takes between one and three months to finish a piece.
Statistics
- Most woodworkers agree that lumber moisture needs to be under 10% for building furniture. (woodandshop.com)
- If your lumber isn't as dry as you would like when you purchase it (over 22% in Glen Huey's opinion…probably over 10-15% in my opinion), then it's a good idea to let it acclimate to your workshop for a couple of weeks. (woodandshop.com)
- The U.S. Bureau of Labor Statistics (BLS) estimates that the number of jobs for woodworkers will decline by 4% between 2019 and 2029. (indeed.com)
- The best-paid 10 percent make $76,000, while the lowest-paid 10 percent make $34,000. (zippia.com)
External Links
How To
How to join two pieces of wood together without nails
Woodworking is a popular hobby. It is relaxing and enjoyable because you can create something useful with wood. Sometimes you may want to join two pieces together of wood without using nails. This article will help you to maintain the beauty of your woodwork projects.
You will first need to trim the edges of your wood pieces before joining them. Avoid leaving sharp edges that could lead to problems later. Once you've done this, you're ready to start gluing your boards together.
If you are working with hardwood, only one side should be glue. For softwoods like cedar and pine, glue should be applied to both sides. After applying the glue, press the boards firmly until they are completely stuck together. Before moving onto the next step, make sure the glue has dried completely.
After you have glued the boards together, drill holes in the joints where you intend to place screws. You can choose the type of screw to determine the size of your holes. For example, if you intend to use 1/2-inch wood screws, you need to drill a hole that is at most 3/4 inches deep.
After drilling the holes, you can drive the screws into your board's backside. Don't hit the board's surface. You could damage the finish. Don't drive the screws too far into the end. This will prevent splitting the wood's end grain.
You'll need to protect your completed project from the elements. To do this, you can seal the entire furniture piece or just cover the top. You will want to choose a product that will be durable for many years. Some examples include oil-based varnishes, polyurethane, shellac, lacquer, etc.
These products are available at most home improvement stores. Just make sure that you buy the right kind for the job. Some finishes are toxic and should not ever be used indoors. When handling certain finishes, wear protective gear.